

The Lone Ranger – Clocking the transfer case
Or I guess I could call this post “Pay attention to clearances”! I got the doubler put together and stuck it in the truck. Everything was looking pretty good until I tried to stick a drive shaft in it. That’s when I noticed something was a wee bit off:

Yup, the dang drive shaft rubs the front case with everything lined up in a “stock” position. Had I taken a second to check this on the bench, I could have saved myself a little trouble. So back out it came, and onto the bench it went:

Pulled it all apart, and clocked it one hole which gave me this:

And no, I still wasn’t smart enough to drill a hole in the shift fork to get at that one allen bolt. Next time!
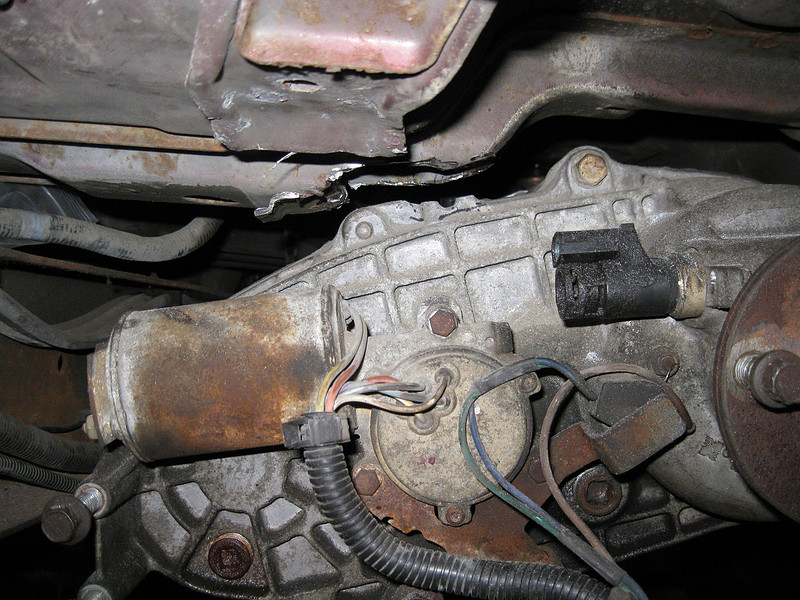
Since everything was pretty darn tight before, I knew I was going to have to free up a little space. Thankfully, I didn’t have to make too much room. I trimmed out one of the support bars under the extended portion of the cab. And by trim, I mean a few cut followed by a beat the heck out of it session with the mini sledge.
Before:

After:

I also knocked off the little nub on top of the rear transfer case to give me a little more wiggle room:

Before:
After:

I then stuck the T-Case back into the truck. It looks like with a little more trimming, I’ll be able to shove the whole driveline up a little further. That’s awesome as it’ll give me a flat belly :happydance:
Cab clearance:
T-Case hang down before the clock:

After the clock (it actually hangs out about 1/8” below the frame rails).
