
The Lone Ranger – Front SAS – Final Leaf mount Burn In:
Well I passed two milestones tonight, the leaf mounts are fully burned on. And I somehow managed to lay some decent beads upside down
Locating the mounts was a bit of a pain since I’d moved (or removed) just about every item that I could use as a good reference point on the frame. So it took a few tries to get it right. So if anyone is looking for numbers in the future, here’s what I wound up with…
Front mounts – Center of the hole is 3.5” from the very front of the frame horn, and 2.25” down from the lowest part of the frame (the bumps in the crumple zone):

Rear Mounts – The center to Center measurement of the holes is 44” (I’m using stock Waggy springs, so your spacing may need to move). The center of the hole is 2-5/16” below the frame (Measured perpendicular to the frame):

Font Mounts:
I’ve already shown the majority of the front mount welding in a prior post, so I wont rehash that here. I’ll update this post when I finish the gussets on those mounts though.
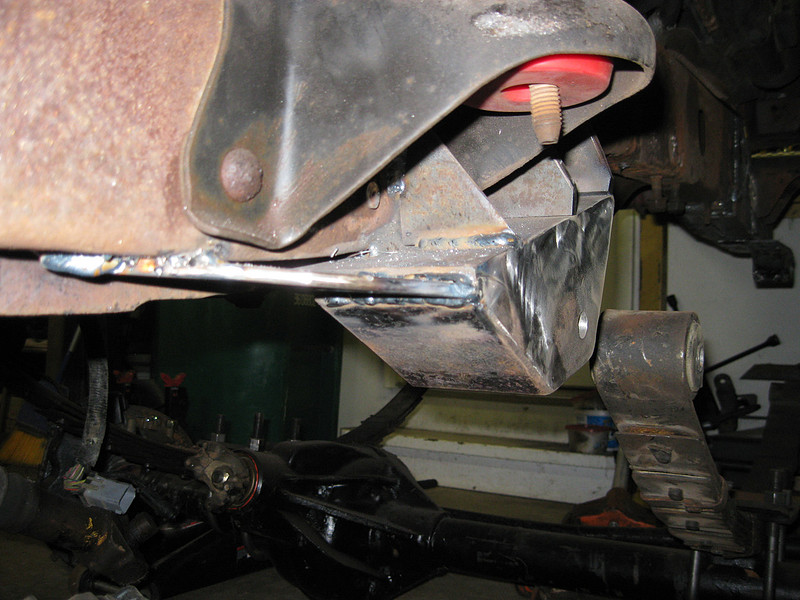
Rear Mounts:
I tacked them in place to make sure everything was happy..


Then I cut out a few more gussets (Cutting gussets by hand SUCKS!), and it was time to burn everything home: (Don’t forget to move your brake lines and fuel filter! They live on the other side of the frame rail in the below photo).


And I’m semi proud of this. I actually managed to lay down some pretty beads upside down. Maybe practice pays off?
